Introduction
In this post, we will learn how to set up SSO (Single Sign-On) entirely on Vercel using the new Next.js App Router and TypeScript. For the SSO, we will be using Jackson by Boxy HQ. I believe this is the easiest and cheapest (completely free) way to set up SSO for your Next.js app whether you want to just allow your employees to sign in with their Google account or you want to set up a full-fledged SSO for your enterprise clients. Plus you get to learn and use all the latest features of Next.js with TypeScript.
If you are not familiar with SAML or OIDC, that’s okay, you don’t need to be since Jackson will handle all the heavy lifting for you. However it might be worthwhile to familiarize yourself with the broad concepts of SSO and SAML before you start. This tutorial is aimed at developers who are already familiar with Next.js and want to learn how to set up SSO for their Next.js app. So let’s get started!
Set up the SSO Server
First, let’s set up the SSO server. For this, we will be using Jackson by Boxy HQ. Jackson is a free and open-source SSO server that you can use to set up SSO for your Next.js app. To set up Jackson, we’re just going to navigate to the github repo (https://github.com/boxyhq/jackson) and use the 1 click deployment button for vercel in the readme. This will present you with a page where you can choose the git repository you want to deploy Jackson to, assuming you have already linked your github and vercel accounts. Choose a name for your new repo and make sure the repo is private. Once you’ve chosen the repository, you will need to set some environment variables. There are a lot of supposedly “required” environment variables, but if you look at the (documentation)[https://boxyhq.com/docs/jackson/deploy/env-variables], most of them actually have defaults. But the way their vercel template is configured you will need to set a fair few. These are the most important environment variables you will actually need to set with some recommended values:
Environment Variables
-
NEXTAUTH_URL: This is the URL that the SSO server will be running on. You should set this to something like https://auth.mydomain.com. But you will need to of course set up a custom domain for this project in vercel once the deployment is complete. -
NEXTAUTH_SECRET: This is a secret key that is used to encrypt the session token. You can generate a random string and use it as the value for this environment variable e.g. by runningopenssl rand -base64 32on the command line -
CLIENT_SECRET_VERIFIER: I used the password generator in 1password to generate a “memorable” password consisting of 7 random words and used that as the value for this environment variable. -
SAML_AUDIENCE: This is the audience that the SAML response will be sent to. This should be the URL of your Next.js app that you want to set up SSO for e.g. https://mydomain.com -
IDP_ENABLED: This should be set tofalseas recommended by Boxy HQ. -
EXTERNAL_URL: This should be the same asNEXTAUTH_URL. -
JACKSON_API_KEYS: Set this to a random password that you will use to authenticate with the Jackson API in case you need/want to use the API. In this tutorial, we won’t be using the API and will be configuring everything through the Jackson UI. -
DB_CLEANUP_LIMIT: 1000 -
DB_TTL: 300 -
DB_ENCRYPTION_KEY: This is a key that is used to encrypt the database. You can generate a random string and use it as the value for this environment variable e.g. by runningopenssl rand -base64 24on the command line -
DB_TYPE: postgres -
DB_ENGINE: sql -
NEXTAUTH_ACL: *@mydomain.com
Custom domain
For the rest of the environment variables that are marked as required, simply put empty quotes for now and click the deploy button. Once the deployment is complete, you will likely need to set up a custom domain for the project in vercel to match the one you set for NEXTAUTH_URL. You will also need to set up a CNAME record in your DNS settings to point to the vercel domain for the project.
Database
Once we’ve done that, it’s time to set up the database that Jackson will use. For this, we will be using Vercel’s own free postgres database service. It doesn’t offer a lot of storage (256MB) but it is more than enough to serve this purpose. To set up the database, we’re just going to navigate to the vercel project and click on the “Storage” tab and create a new postgres database. Ensure you choose the same region for the database deployment as the Jackson deployment for best performance. Once the database is deployed, you will need to set the DB_URL environment variable in the Jackson deployment to the connection string for the database which should be visible front and centre. It will be something like: postgres://default:<password>@<db-domain>.us-east-1.postgres.vercel-storage.com:5432/verceldb. You will also need to set the DB_SSL environment variable to true. This wasn’t presented as an option when deploying jackson in the first step but it is required for the database connection to work.
Admin credentials
And finally, the last environment variable you will need to set is NEXTAUTH_ADMIN_CREDENTIALS which will allow you to actually log in to the jackson admin portal. The value should be of the form <username>:<password>. It’s recommended you use a very strong password for this as it will give you access to the admin portal where you can configure the SSO settings. Alternatively it’s also possible to set up SSO for the SSO Admin portal but that is rather too meta for this tutorial. Once you’ve set all these environment variables, you will need to redeploy the Jackson project for the changes to take effect. Once, the service has redeployed, you can navigate to https://auth.mydomain.com and log in with the admin credentials you just set.
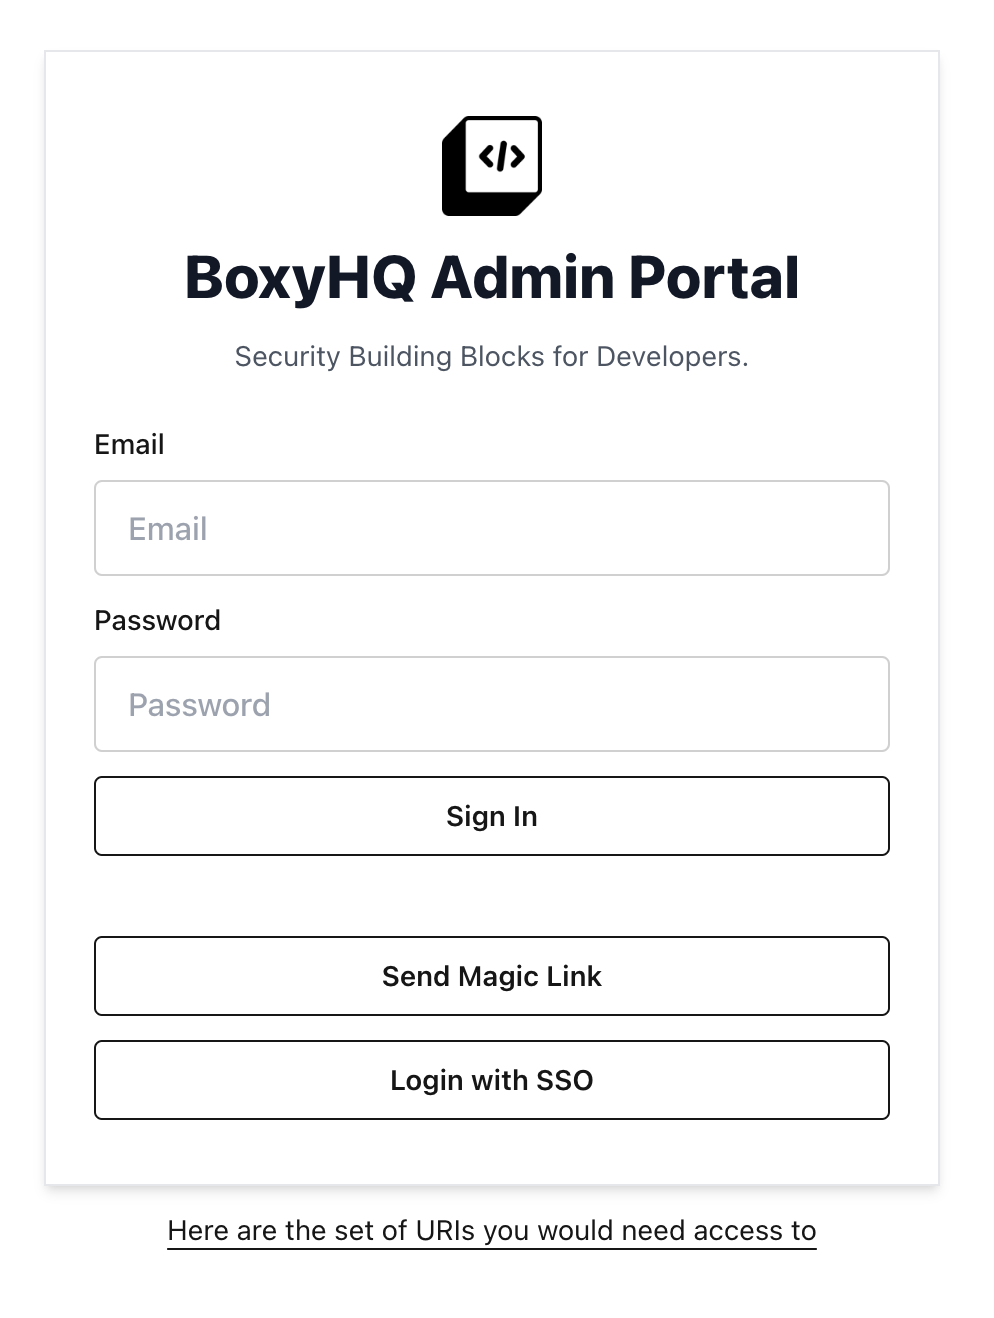
![]() You now have a fully functioning SSO server that you can use to set up SSO for your Next.js app.
You now have a fully functioning SSO server that you can use to set up SSO for your Next.js app.
Create the SSO Connection
Now that we have the SSO server set up, it’s time to set up the SSO connection for the Next.js app. To do this, we’re just going to navigate to the Jackson admin portal and click on the “Connections” tab within “Enterprise SSO” on the left hand side panel. Then we’re going to click on the green button that says “New Connection”. This will present us with a form where we can set up the SSO connection. For this tutorial, we’ll be using MockSAML as our Identity Provider (IdP) which is used just for testing purposes. For this reason, we’re only going to setup the SSO connection for local development i.e. against localhost rather than the app’s deployed domain. We will need to fill in the following fields:
-
Type: This is the type of the connection. You can choose between “SAML” and “OIDC”. For this tutorial, we will be using “SAML”. -
Name: This is the name of the connection. You can set this to something like “My Next.js App”. -
Description: This is a description of the connection. You can set this to something like “SSO for my Next.js app”. -
Tenant: This is the tenant that the SSO connection will be for. You can set this to something like “mydomain.com”. Typically, this is the domain of your Next.js app but only by convention. It doesn’t actually have to be the same as the domain of your Next.js app and in this case it won’t be since we’re setting up the connection for localhost. -
Product: This is the product that the SSO connection will be for. We’ll be using “Demo” for this tutorial. -
Allowed redirect URLs: This is the URL that the SAML response will be sent to. We’ll be using “http://localhost:3000” for this tutorial. -
Default redirect URL: This is the URL that the user will be redirected to after they have successfully logged in. We’ll be using “http://localhost:3000/login/saml” for this tutorial. -
Metadata URL: This is the URL of the IdP metadata. We’ll be using “https://mocksaml.com/api/saml/metadata” for this tutorial. This can be provided instead of theRaw IdP XMLfor simplicity.
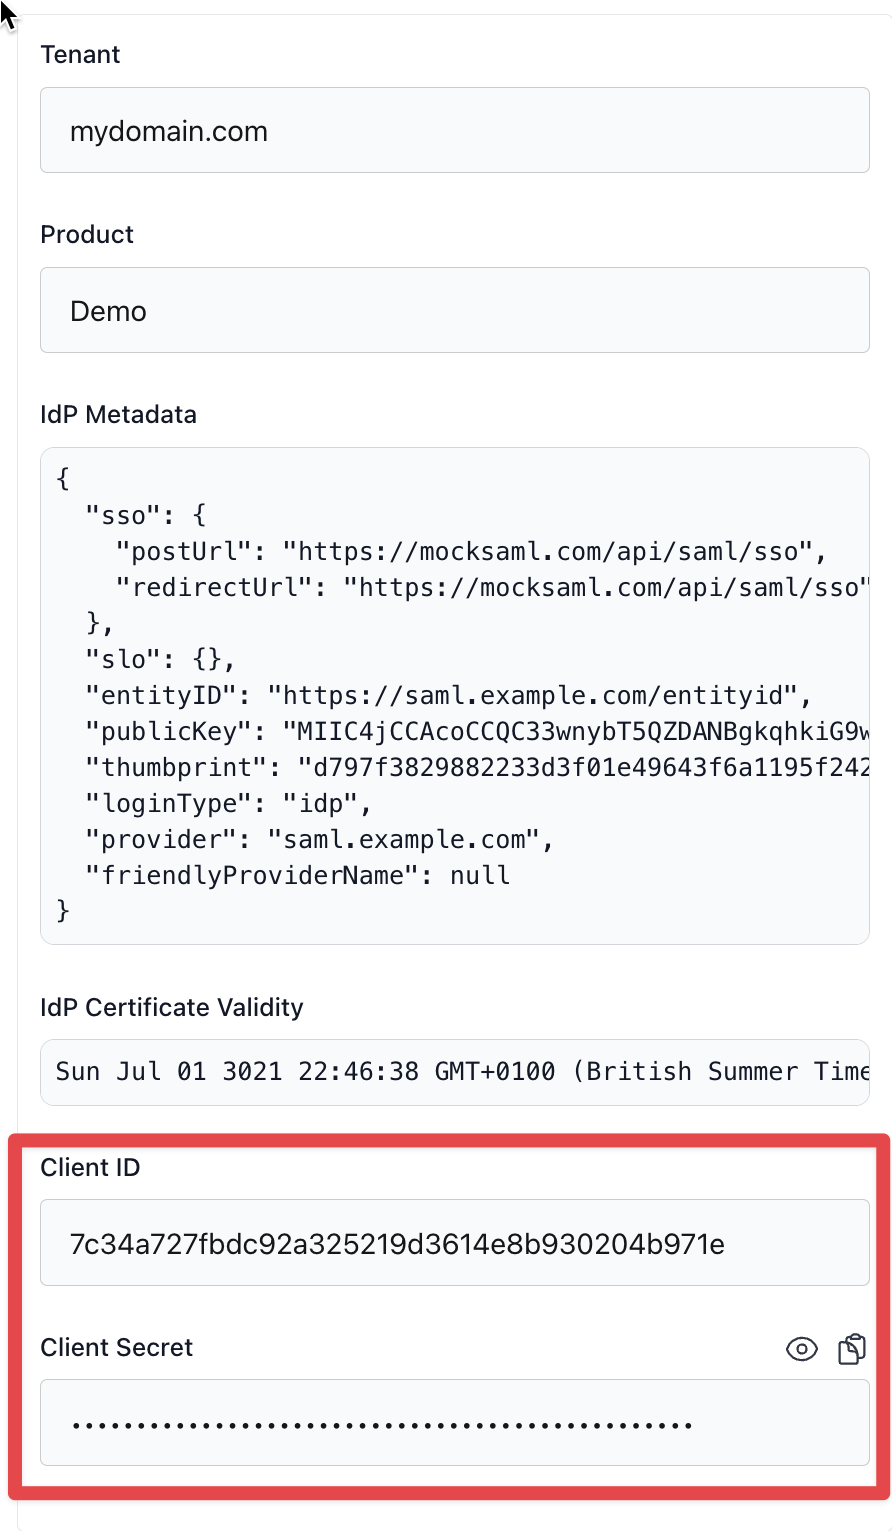
That’s all! Once you’ve filled in these fields, you can click the “Save Changes” button to create the SSO connection which will redirect you back to the “Connections” page. If you click the edit button on the connection we just created, you will then see a Client ID and Client Secret in a panel on the right hand side which we will need for the next step.
If you have multiple environments, you will need to create a separate connection for each environment. For example, you will need to create a connection for localhost development, another for staging, another for production, etc. You can do this by clicking the “New Connection” button again and filling in the same fields but with different values for the Allowed redirect URLs and Default redirect URL fields.
Set up the Next.js App
Now that we have the SSO server and connection set up, it’s time to set up the Next.js app. For this, we will be using the new Next.js App Router which was introduced in v13.2 and became stable in v13.4. The Next.js App Router is a new feature in Next.js that changes how you set up pages and API routes. The old way is still supported but it is recommended for new projects to use the App router. To create this project, we just ran yarn create next-app in the terminal and selected the TypeScript and App Router options. Then we installed the next-auth package which we will be using to set up the SSO for the Next.js app. To install this package, we just ran yarn add next-auth in the terminal.
Rather than take you through every single step of setting up the Next.js app, I’ll just show you a couple of key parts and then point you to the github repo so you can take a look for yourself.
Next Auth Initialization
The most important part of setting up the Next.js app is setting up the next-auth API endpoint which will handle the authentication. In the old way, this would have been at this location: pages/api/auth/[...nextauth].ts. But with the App Router, it is now at this location: app/api/auth/[...nextauth]/route.ts. The main thing that needs to be done here is just the construction of authOptions which gets passed to next-auth. We’ve chosen to split this out into a separate file for better organization. Here’s what that file looks like:
import BoxyHQSAMLProvider from "next-auth/providers/boxyhq-saml";
import Credentials from "next-auth/providers/credentials";
// @ts-expect-error TS(2307) TODO: Fix this import error
import { type Provider } from "next-auth/providers";
import { type NextAuthOptions } from "next-auth";

const credentialsProvider = Credentials({
  // The name to display on the sign in form (e.g. 'Sign in with...')
  name: "Admin Credentials",
  // The credentials is used to generate a suitable form on the sign in page.
  // You can specify whatever fields you are expecting to be submitted.
  // e.g. domain, username, password, 2FA token, etc.
  credentials: {
    username: { label: "Username", type: "text" },
    password: { label: "Password", type: "password" },
  },
  async authorize(credentials) {
    try {
      // Use password from environment variable
      if (
        credentials?.username === "admin" &&
        credentials?.password === process.env.NEXTAUTH_ADMIN_PASSWORD
      ) {
        // Any object returned will be saved in `user` property of the JWT
        return { id: "admin", email: "hello@mydomain.com", name: "Admin" };
      }
      // Return null if user data could not be retrieved
      return null;
    } catch (error) {
      // Return null if user data could not be retrieved
      return null;
    }
  },
});

// Set up SAML provider
const samlProvider = BoxyHQSAMLProvider({
  name: "SSO",
  id: "boxyhq-saml",
  authorization: { params: { scope: "" } },
  issuer: `${process.env.NEXTAUTH_SSO_URL}`,
  clientId: `${process.env.NEXTAUTH_SSO_CLIENT_ID}`,
  clientSecret: `${process.env.NEXTAUTH_SSO_CLIENT_SECRET}`,
  httpOptions: {
    timeout: 30000,
  },
});

// List of next-auth credentials or saml providers
// We add credentialsProvider only in development and test environments just as an example.
const providers: Provider[] = [];
if (process.env.NODE_ENV === "development" || process.env.NODE_ENV === "test") {
  providers.push(credentialsProvider);
  providers.push(samlProvider);
} else if (process.env.NODE_ENV === "production") {
  providers.push(samlProvider);
}

// This is exported for use in `app/api/auth/[...nextauth]/route.ts` as well as anywhere
// else in the app that needs to access the auth options.
export const authOptions: NextAuthOptions = {
  pages: {
    signIn: "/login",
  },
  secret: process.env.NEXTAUTH_SECRET,
  session: {
    strategy: "jwt",
  },
  providers: providers,
};
In the code above, you can see that we have allowed a simple password credentials option as well as a SAML authentication option for logging in, just as an example of how to configure multiple providers in different environments. You can also see that we’ve provided the Client ID and Client Secret we generated earlier to BoxyHQSAMLProvider as environment variables (NEXTAUTH_SSO_CLIENT_ID and NEXTAUTH_SSO_CLIENT_SECRET respectively) in addition to the URL of our Jackson SSO server (NEXTAUTH_SSO_URL). We’ve also provided the NEXTAUTH_SECRET environment variable to authOptions as the secret key that is used to encrypt the session token.
Custom Login Page
We’ve also created a custom login page for the Next.js app. This is just a simple form that allows the user to log in using their password credentials or SAML. You can see that we have configured next-auth to use this page as the sign in page by setting the signIn property in authOptions to "/login" which is the path to this page. Our custom login page is quite simple using basic Material UI components. Here’s what it looks like:
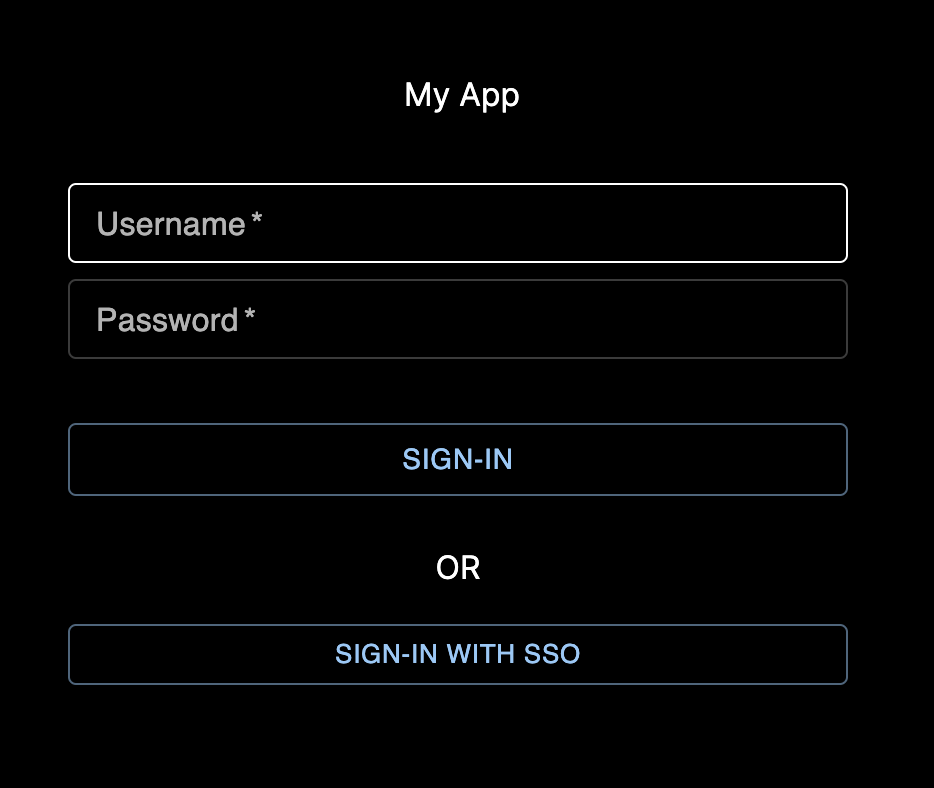
If you don’t create a custom login page, users will be forced to login using the default next-auth login page at /api/auth/signin which will likely not be to your liking. This is what that looks like:
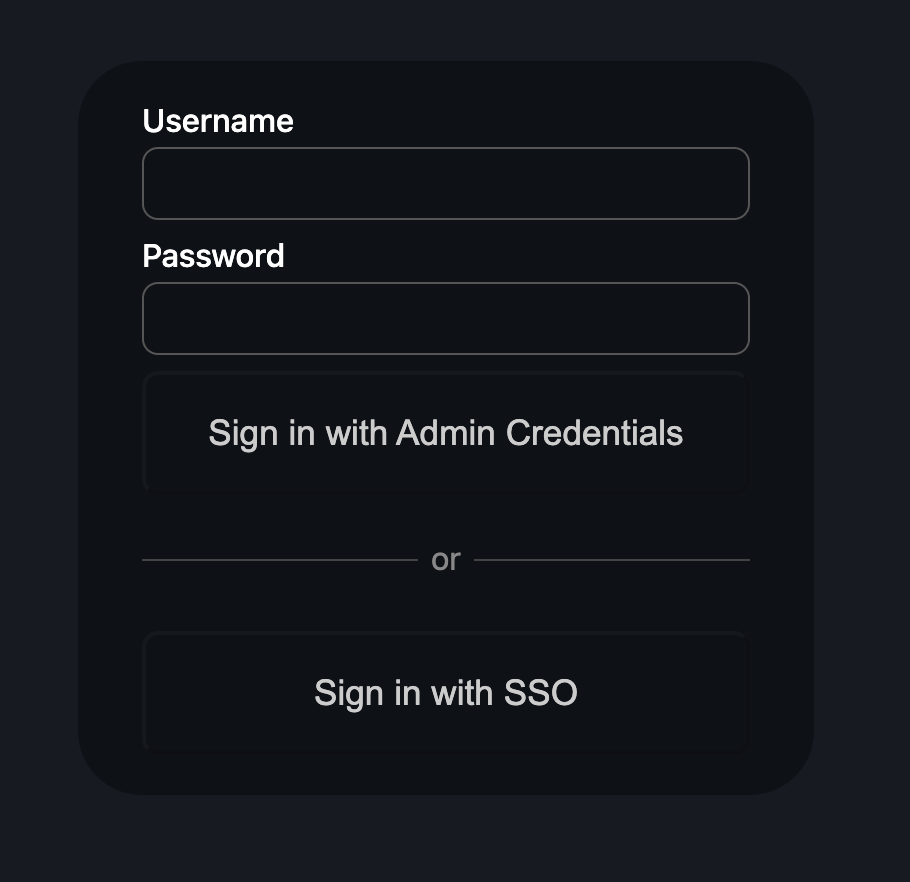
Granted, the difference is not huge in this case, but if you have a brand, you will want to customize the login page to match your brand and display your logo, etc.
Finally, the code for the whole app can be found here: https://github.com/amin-nejad/next-auth-demo. Simply clone, it, run yarn followed by yarn dev and navigate to http://localhost:3000 to see the app in action. Aside from the homepage and the login page, there is one authenticated page and one authenticated API endpoint just to demonstrate how to protect pages and API routes using next-auth. The authenticated page is at /test and the authenticated API endpoint is at /api/protected. You can see that the getSession function from next-auth is used to protect these routes.
Pro-tip
- Save passwords and secrets in a password manager like 1password and use the password generator to generate strong passwords.
Useful Links
- Next JS App repo
- Jackson vercel docs (Rather minimal at time of writing)
- Jackson deployment video tutorial
- Boxy HQ has an example repo for setting up
next-authwith Jackson but it’s a little old so they’re not using the App Router. However it is still a valuable resource and is actually deployed so you can see what the end result could look like.